Your cart is currently empty!
Why I Built this Project
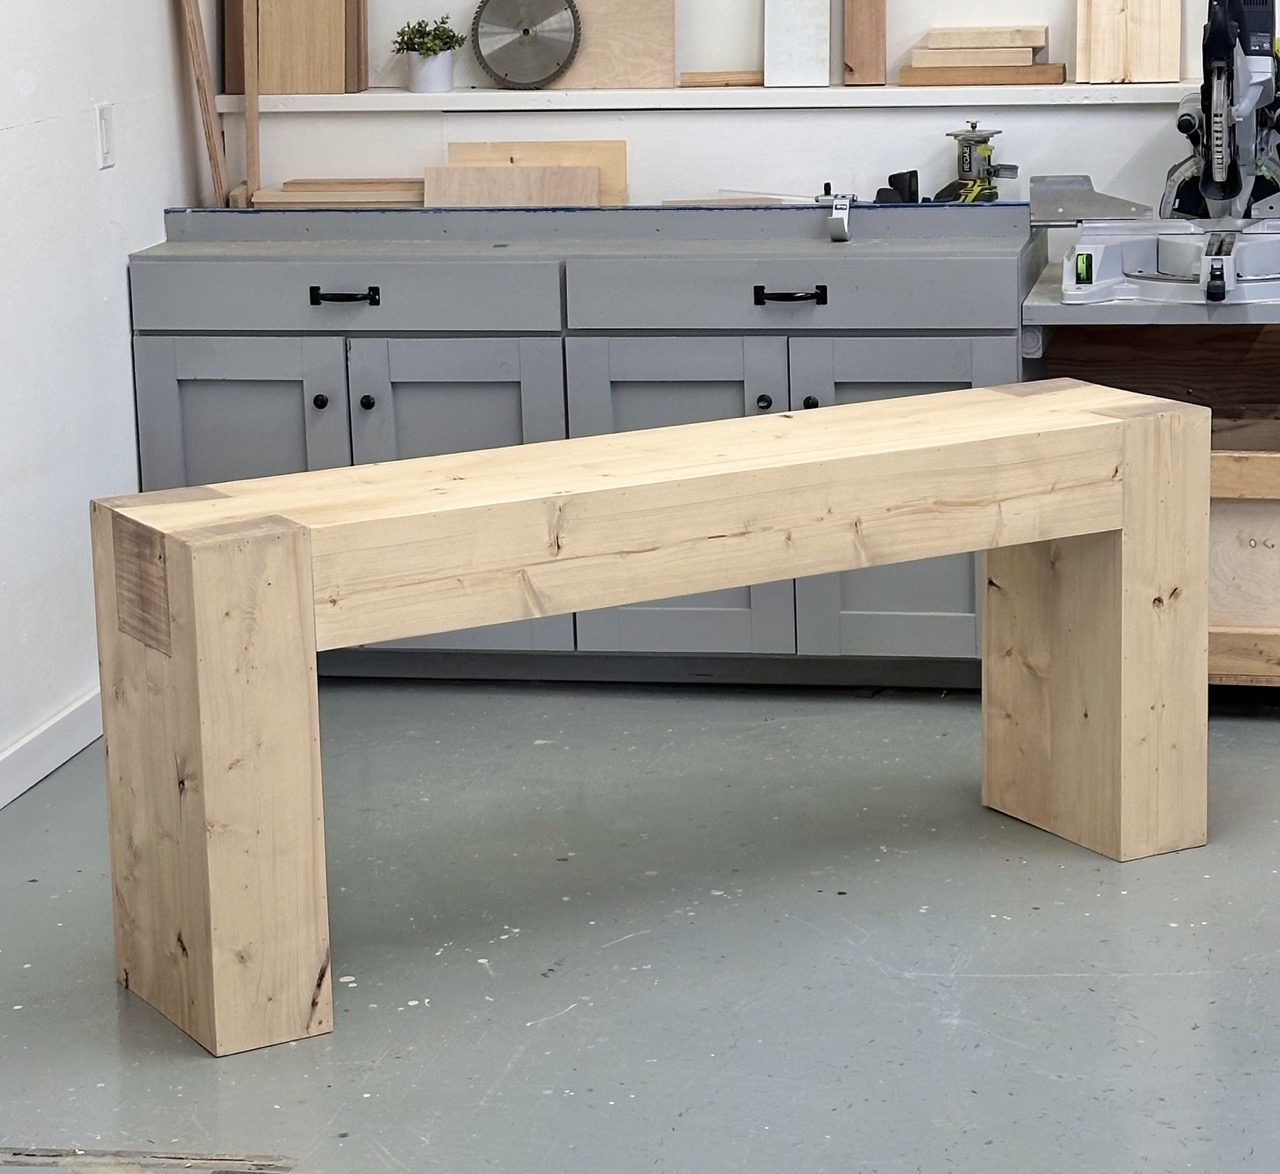
I have a pretty boring space in an entryway that needed something BIG and BOLD but I didn’t want to spend thousands buying a console table… So I decided to build my own inspired by the trendy bulky accent tables that are the obsession right now. I know this style furniture is a fleeting fashion statement right now, so instead of spending $1900 on buying or $500 using hardwood, I built THIS CONSOLE table with 7 1×8 boards, about $150 total to build.


Why I Love this Dovetail Beam Console Table
- Bold beam style adds style to a space
- Lightweight and easy to move
- Create that timber look without the timber house
- Just seven 1×8 boards to build
- Built by myself in three hours
- Finish in any color stain of choice
- Build the entire collection with free plans from Ana White
How I Built this Project
I started by making miter cuts for building the top and side panels. I set my saw to a 45 degree bevel and cut the miter cuts.

For the main joinery, I am using Kreg Pocket Holes. I have the Kreg Foreman and love it! Makes joinery fast and easy!

The top and the two sides are 1x8s joined together edge to edge, or a flat joint. I use a vertical method for minimal clamps and more control over both sides of the joint.

Once the panels are joined together, then I attached the top to the two outside leg panels. I added some blocking in to reinforce this joint.

Then, I cut the leg fronts and attach with 1-1/4″ brad nails and wood glue, making sure all outside edges are flush (this is important, as this squares up the top and side joints).

Here’s the two front legs added.

Then I cut to fit the front board and attached it to the top with brad nails and glue.

On the inside, I also attached with pocket hole screws.

Then I built the two inside panels using my Kreg Jig, and attached the panels inside the legs with 1-1/4″ brad nails and glue. I also used pocket holes to attach the inside leg panels to the underside of the tabletop.

I then filled holes with wood filler and sanded the entire project, working in the direction of the wood grain.

Now for the dovetail look – I marked out with a pencil, and then used a small chisel along a straight edge to create a groove where a joint would be.

Then I used the chisel to make lines to look like the wood grain is an end grain. This will also accept more stain and be a darker color.

Then I applied Varathane Hazelnut stain to the entire project. See how the color is darker where I used the chisel?

Watch! Build Video for This Project
Video coming soon
Free Plans to Build Your Own Dovetail Beam Console Table
Ready to build this yourself? Here’s the free plans, enjoy!
Leave a Reply