Why I Built this Project
My daughter received a sewing machine and I got a cricut last Christmas. They have been sitting around not being used because there was no place for them, unless we cleared the kitchen table. I wanted to create a permanent home for them and encourage use. On top of those items, my daughter is also into doing nails, so why not make it a nail salon too!
Why We Love this Ultimate Craft Center
-
Multi-purpose design – doubles as both a work desk and a storage hub for sewing, crafting, and DIY projects.
-
Built-in machine space – keeps the sewing machine tucked in neatly but still ready to use at any time.
-
Open shelving – makes it easy to customize storage for larger “tools”
-
Large work surface – provides plenty of room for cutting fabric, assembling crafts, or spreading out projects.
-
Custom storage crates – the wooden pull-out crates add rustic style while holding fabric, yarn, or tools.
-
Dedicated tool spot – the bottom shelf perfectly fits a Cricut (or similar cutting machine), keeping it accessible yet out of the way.
-
Space-saving layout – compact but functional, ideal for a craft room, office corner, or multipurpose space.
-
Sturdy build – wood construction makes it durable for heavy use, whether sewing, painting, or woodworking.
-
Comfortable seating height – paired with a bar-height chair for ergonomic crafting.
-
Stylish look – two-tone finish (natural wood top + painted base) makes it attractive enough to fit into a modern home.
How I Built this Project
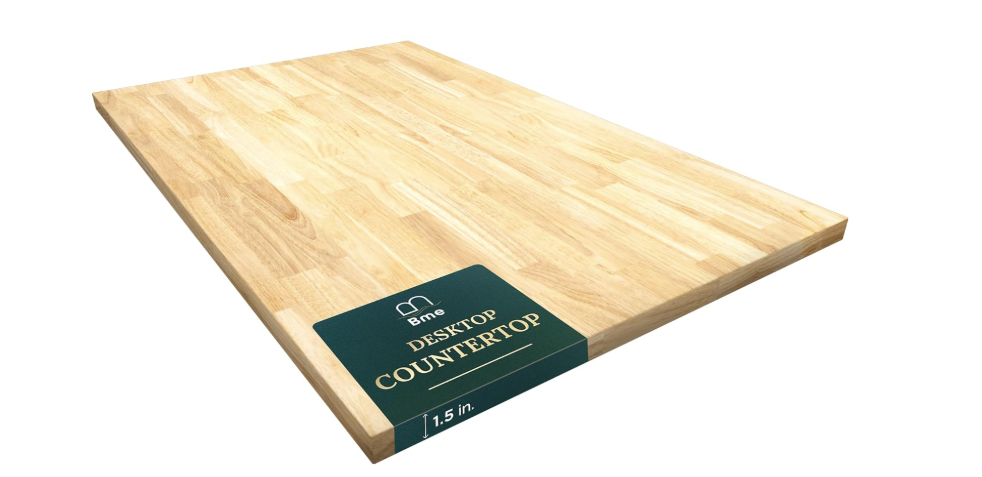
The first thing I did was buy the butcher block top and then customized from there. The dimensions are 30″ x 48″.

From there I went to work designing the towers in Ana’s FREE DESIGN TOOL
Using the dimensions of the top, I had a basic layout in mind with the two open shelves on each side, but I wanted to add a small tower for the “nail salon items”, so for that portion I used 1×8 boards. The design tool works with multiple dimensions, but took a little figuring for that portion because the minimum width of the tool is 12.5″ and that needed to be 11.25″, not a big deal, it still helped with spacing and layout, I just made notes on the printable pdf about that portion to reference while building it.
So I got to work on the 3 towers that would support the top, designed with custom spacing for the sewing machine, Cricut and storage crates. The design tool allows you to print your diagrams making it easier to work from. So I cut all of my pieces and prefinished the boards before assembly.
I love how it works to minimize scraps!
I used pocket holes for assembly and for the smaller 1×8 portion just screwed it into the side that it matched up with.


I set the top on to ensure everything worked properly, it did!

Once I had everything set, it was time to finish the top. I loved the natural color so just decided to use poly. I did a light sanding and added 3 coats of poly, sanded and wiped with tack cloth between sanding.


Before attaching the tabletop, I added bay supports to the top of each tower for something to attach the drawer slides to, then I set the top and attached the it by screwing up from the bottom from each tower.


After the top was attached it was time to start on the drawers, I had some 16″ and 10″ drawer slides on hand so I just used those, which worked out perfect! For the easiest way to install drawer slides, this is the method I used – Ana’s Secret Drawer Slide Trick
Remember those bay supports? I used those to attach the drawer slides to.


After the drawers were installed I painted the drawer faces, added a drawer liner and hardware!


The wood crates were the final DIY touch. I like to build my crates out of fence pickets because they are inexpensive and easy to customize! Here is a simple crate tutorial to check out!


Watch! Build Video for This Project
Free Plans to Build Your Own Ultimate Craft Station
Ready to build this yourself? Here’s the free plans, enjoy!
Leave a Reply