Your cart is currently empty!
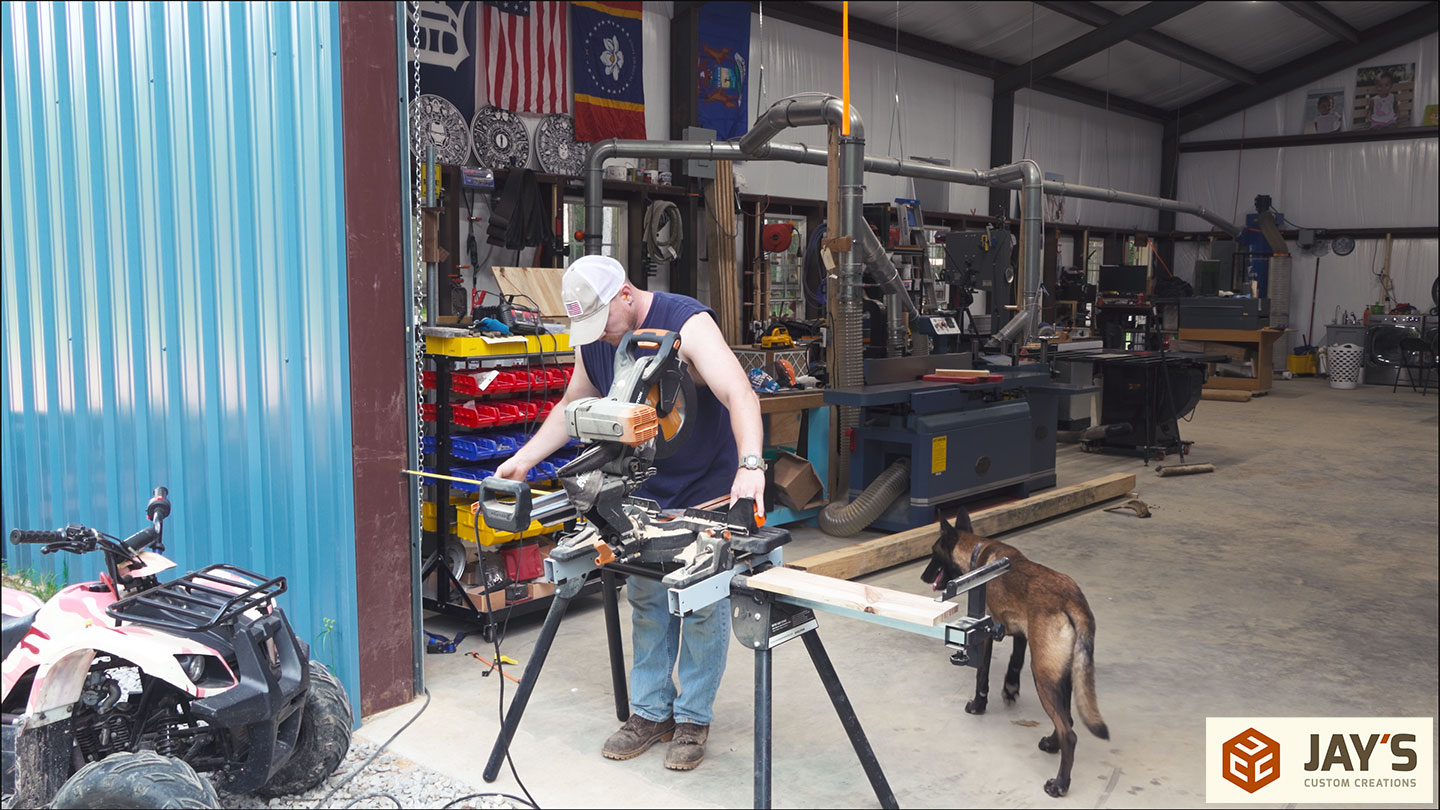
It’s time to make some pallets and stickers so I can stockpile lumber. To do so, I need to cut a bunch of runners to the same length. Positioning the miter saw near the shop door opening will create a stop block for this miter saw station. Have I said how much I miss my miter saw station yet?

There we go. A high-quality, top-notch, nothing-but-the-best stop block system. There’s no wiggle to this stop block, baby!

With the runners cut to length I used the table saw to “skip” joint them. Skip planing is when you take a little bit off of each side, back and forth, until you get down to the desired thickness. This technique can sometimes be used to flatten wood without a jointer. Sometimes it works perfectly, other times it works good enough. Same thing with the table saw; take a little off this side, move the fence, take a little off the other side.


Stencil time. I got this idea from Alabama Hobby Hardwoods on YouTube. He uses pallets of different lengths to stack lumber as it comes off the sawmill. Each runner is 3.5″ tall so that scrap 2x4s can be used for future pallets. The runners are spaced 16″ apart. Space them out and spray paint a stencil on the floor so that you don’t have to measure for each successive pallet you need to make.


I labeled the end points for 8′, 10′, and 12′. If making a 10′ pallet, rather than have an extra runner super close to the 10′ mark, I’ll center the extra runner between the 8′ and 10′ mark.

For slats, I’m using more of the material cut from the first log on the mill. This is from the same batch of material I used for the chainsaw chest. Slat material doesn’t matter, so long as it is all the same thickness.


No screws needed here. Nails are a lot faster and work great.


The ends don’t have to be perfect. Just as long as it will support a sticker.

One down. Lets see how fast the layout is now that I have a stencil to follow.

Just as expected, the second pallet was much faster to knock out.

Time to mill another log for stickers. The pile I’m pulling from here is the first pile stacked on the property. These logs have been sitting for over a year now. I thought for sure that beetles and insects would have completely destroyed the logs by now, but I’m wrong. Just the outer inch or so is chewed up. There’s a LOT of usable material left.

Dirt is the enemy of all things sharp. Beetles have essentially turned the bark into a layer of chocolate icing dirt, like icing on a cake. The contours of a spade shovel are the best I’ve found for removing the loose bark and as much of the dirt as I can.

Using pallet forks to load a log is not that fun, in my opinion. I rolled the log a bit too much and it slammed into the log stops. The stops did their job but the entire mill shifted over a few inches. No more pallet forks for loading logs. I need to keep the grapple on the tractor for log loading and switch back to the pallet forks for moving the fully stacked pallets.

The mill I’m using is a TimberKing 1220CRZ. It’s a manual mill and you can either push the carriage forward through the cut or you can crank it forward with the help of a steel cable wrapped around a pulley. It’s a very easy mill to operate.

After the first cut, the flat face is rolled vertical, against the log stops. I’ve found that using a rubber wheel chock when rolling the log really helps keep it where it needs to be while the log stops are lowered and the log clamps are put in place.


It’s summer time in Mississippi. Hot and sticky! A fan is luxurious!


I shouldn’t have turned this log into a full cant before milling the stickers. Rather than removing the last slab, I should have stayed in the orientation to remove the 3rd slab and then cut the log down into boards, leaving the rounded edge. But I’m still learning. Instead, I removed the fourth rounded slab, getting on scale to cut the entire cant into 1.25″ boards.

Then the boards are rotated vertically.

And cut on the 1″ scale. This leaves me with an entire cant of 1.25″ x 1″ sticker stock.

Strapping them together will make moving them to the shop easier. I really don’t want to play 52-card pickup with this deck.

If only I could really clone myself. Think of all the work I could get done!

They will wait on sawhorses until the next day.

The next day, Jamie helped me run them through the planer. All I’m after here is a consistent thickness.


Wet wood through a planer is frustrating. The moisture in the wood sticks to the tables and it gums up the feed rollers quickly. Sometimes a bit of persuasion is required.

I know, I know; wear chaps when using a chainsaw. Well, I didn’t want to put them on for one super controlled cut. I was mindfully cautious and assessed the risks here.

Sawdust will quickly turn into mold and mildew if left on the sawn lumber. Turning each sticker multiple times to sweep away the dust was more boring than making a cutting board. Cutting boards are great projects to get you hooked on woodworking. It’s a gateway drug into a future of sawdust. But after making hundreds of cutting boards, I’d rather just use any wide board in the scrap bin than make another.

Finally, I have a couple of pallets and enough stickers to start milling lumber to stockpile. Or so I think……

Leave a Reply