Your cart is currently empty!
The image above is a digital rendering, created to scale based on my actual woodworking plans. This is not an AI-generated image. This saves on photography and staging costs, helping us keep plans free. Scroll down to see real build photos from the completed project.
This Free Plan Sponsored by Kreg Tool Company
Big thanks to Kreg Tool Company for sponsoring this outdoor dining set build! I used the Kreg 520PRO Pocket Hole Jig to create strong joints, their Versa Grip clamps to hold everything in place, and the cutting guide system for making clean, straight cuts. I also used Kreg screws for a professional, durable hold.
These tools made the process faster, easier, and way more enjoyable. Highly recommend for any DIY builder!
Why I Built this Project
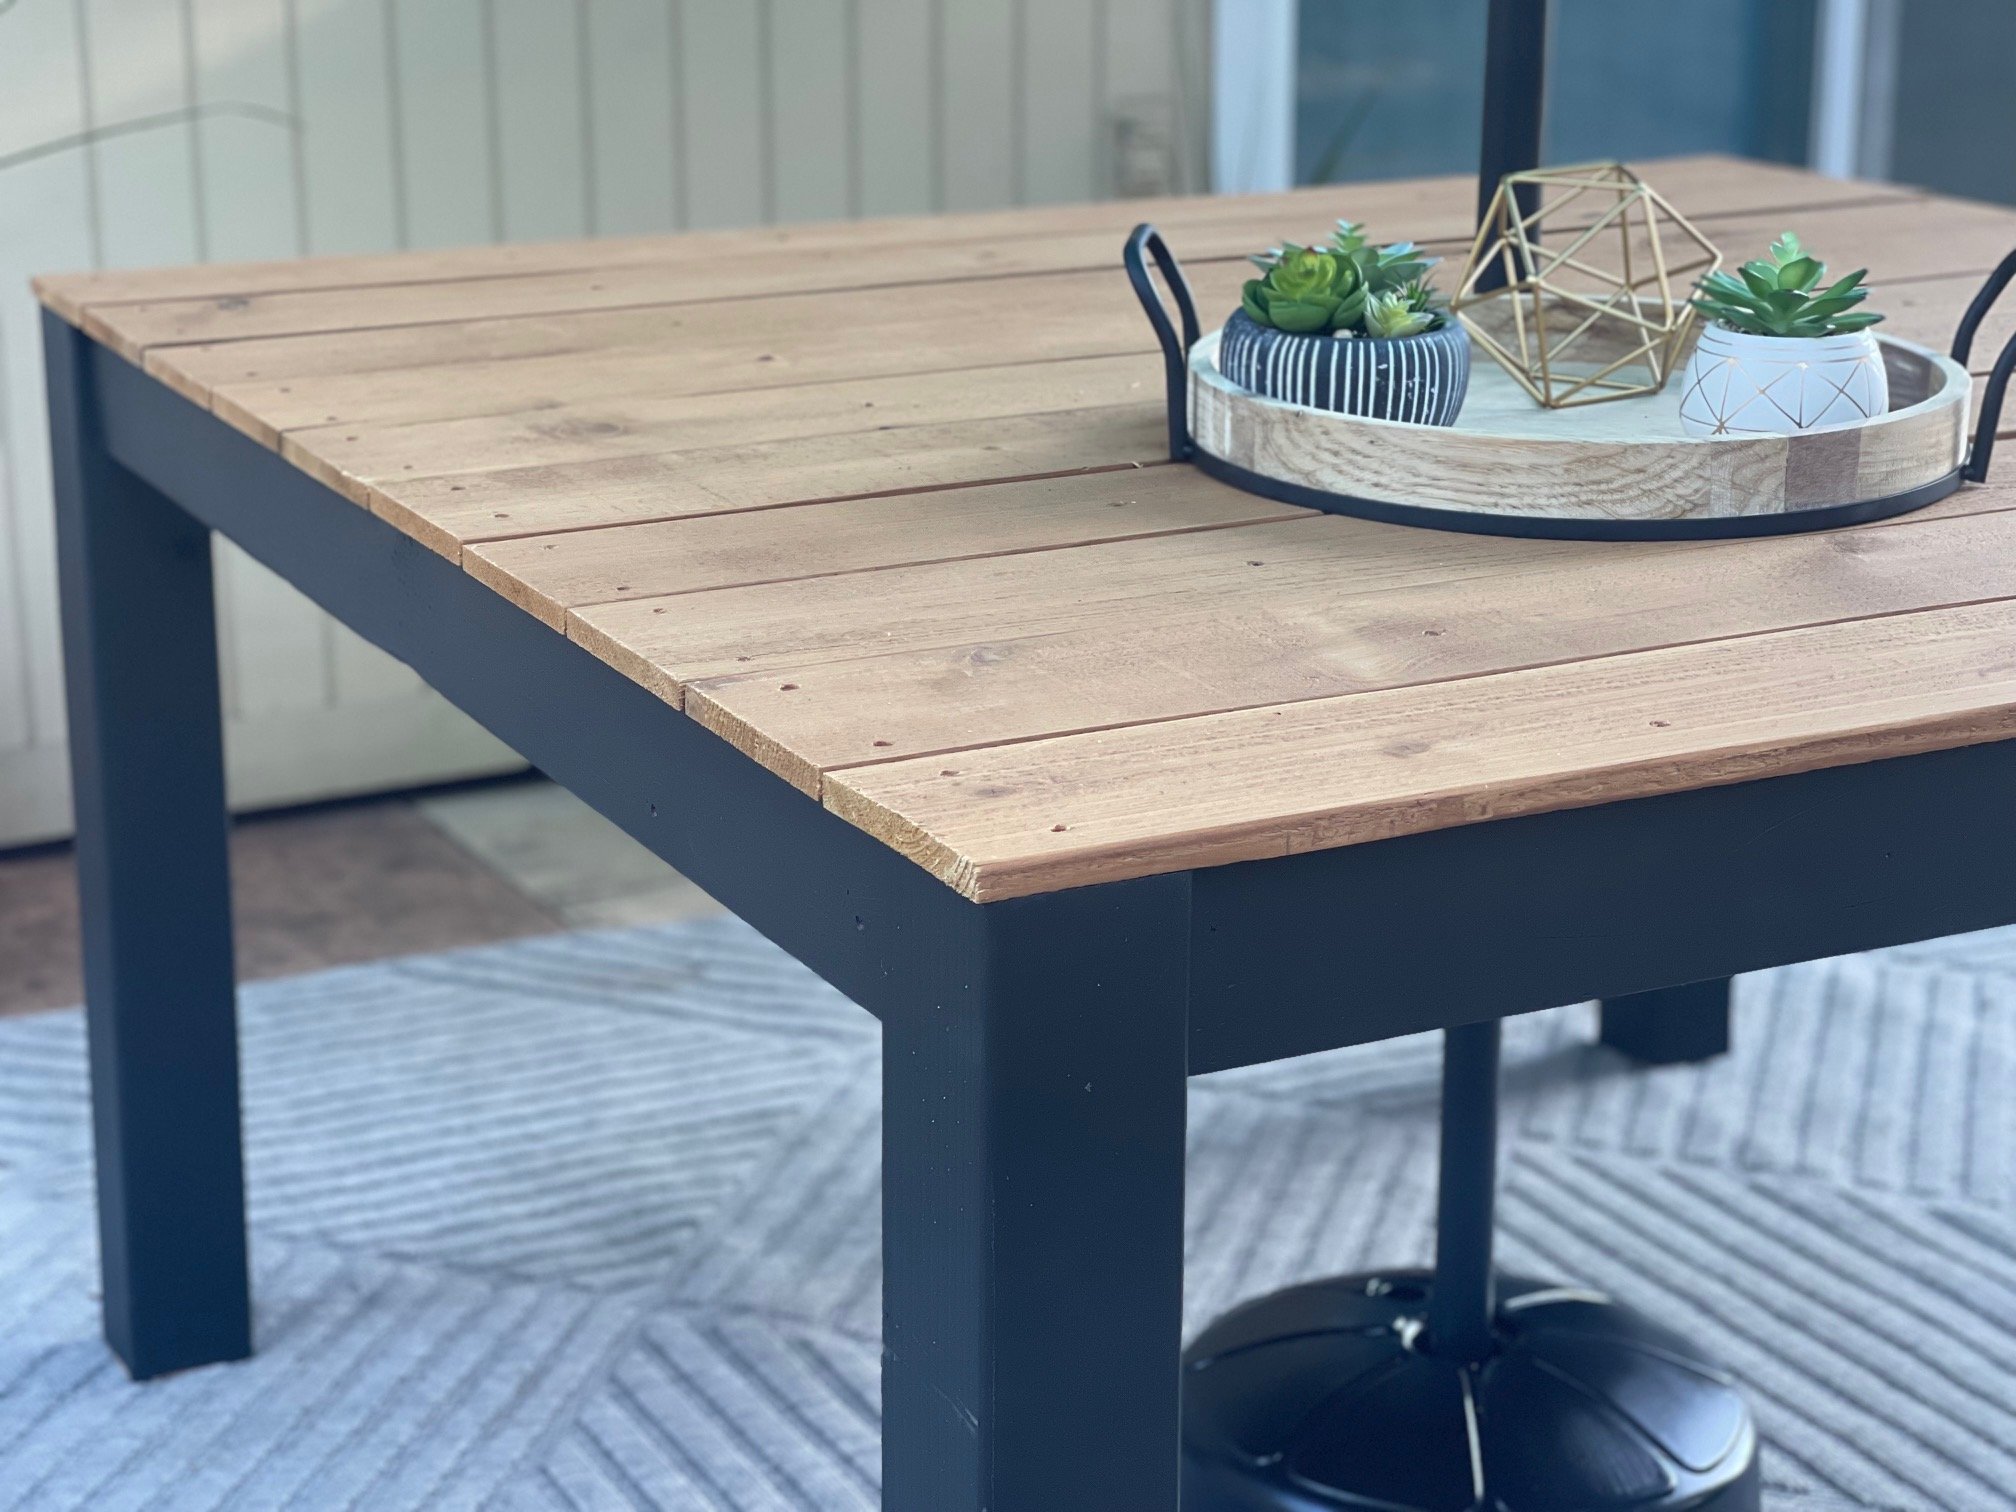
We have a big family and need a big table for outdoor dining! Outdoor dining sets can be expensive, and we are limited on design choices up here in Alaska. I was able to build this entire set for about $200 (including screws and stain).

We have been using this table for outdoor parties and it holds up well and looks so much better than a plastic table or a picnic table! I’m excited about the cedar top, expecting to get many years of use out of this set!
8 Seat Square Version with Free Plans!
You may recognize this design – our website manager Jennifer built a square version a couple years ago, and it turned out amazing. She did a two-tone finish and screwed the top boards on. Here are the plans with video and lots of photos of the build and final product.
How I Built this Project
This project is built using basic methods, with just a few tools! Essential to building with 4×4 posts is a Kreg Jig – it’s very difficult to join to a 4×4 post with out pocket holes. The Kreg Jig I recommend is the Kreg 720. The auto-adjusting feature makes going between 2x and 1x materials quick and accurate, and drilling pocket holes is fast and easy.

In the plans, you’ll drill two pocket holes on ends of all the aprons boards to tie into the 4×4 legs.

You can see how this would be very difficult to do with screws from the outside – trying to screw accurately all the way through the 4×4 post would take precision and leave a big old hole on the outside of the post.
I always clamp, and love the new Kreg VersaGrip Clamps.

When building the leg sets, on the sides, you can make it work with the standard Kreg driving bit, but using the shorter bit really helped (or a right angle drill if you have one!)

Can you see the double aprons on this leg set? I wanted this bench to be super strong, so doubling up doubles the pocket holes, increasing the overall strength of the joint!

Once the end legs are done, then just add the two side aprons in the same way.

I added extra blocking at the corners here too, to strengthen the joint to the leg.

Here’s the bench with the aprons attached. I did end up adding some extra bracing, thinking with the length the extra support could be a good idea.
Next up was cutting the cedar fence pickets for the top –

To keep the cuts consistent and make cuts quickly, I used my Kreg Precision Trek and Stop Kit – I have been using this system for many years and it saves me so much time!

Here’s the entire set with the cedar fence pickets on top. With it’s natural weathering superpowers, the cedar on top should be more durable than softwoods or whitewoods, and a tiny fraction of the cost of hardwoods.

And then after spraying, this is how it turned out!

Watch! Build Video for This Project
Video coming soon
Free Plans to Build Your Own Outdoor Table Set with Cedar Fence Picket Tops
Ready to build this yourself? Here’s the free plans, enjoy!
Leave a Reply