Why I Built this Project
My family was invited to our friends house for a Christmas get together. I wanted a nice way to display some goodies. Ana came up with this plan and I thought it fit the occasion. I was surprised at how easy the plan was and how quickly it came together!
Why We Love this 1×4 Christmas Tree Tray
-
Seasonal décor – Makes a great rustic holiday decoration for walls, mantels, entryways, and tabletops.
-
Personalization – You can choose the wood species, stain, and finish to match your style.
-
Gift idea – A handcrafted wooden tree silhouette is a thoughtful and unique holiday gift.
-
Woodworking practice – Offers practice with cutting angles, assembling frames, and making clean joints.
-
Scrap-wood friendly – Uses small pieces, making it a great way to use leftover lumber.
-
Layered/3D effect – The stepped tree shape adds depth and interest beyond a flat cutout.
-
Reusable decoration – A durable wooden piece you can enjoy year after year.
-
Minimalist rustic style – Fits farmhouse, cabin, modern rustic, and natural décor themes.
-
Customizable finish – Paint, stain, whitewash, or leave natural for different looks.
-
Fun DIY craft – Quick, satisfying project that looks professionally made.
-
Perfect for displaying holiday treats – The recessed tree outline can hold small wrapped candies, cookies, or festive snacks for a functional holiday display.
-
Simple construction – Built using basic 1×4 lumber, a saw, and a nailer—accessible even for beginners.
-
Free step-by-step plans – Comes with easy-to-follow instructions so anyone can build it confidently.
-
Available in two sizes – Choose the size that best fits your holiday décor or build both for a matching set.
How I Built this Project
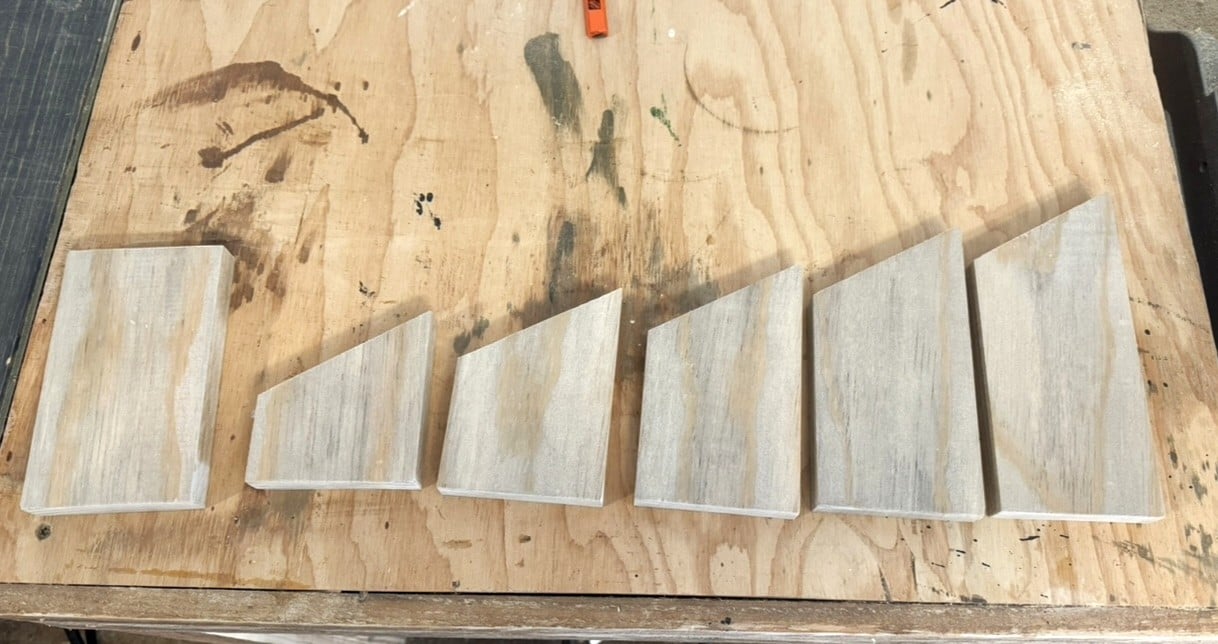
Start by measuring and cutting each piece. Make sure you are using a longer board to cut the smaller pieces to keep you hand away from the saw.

Each side of the tree will be the same cuts.


Next measure for the 1×2 side pieces and attach with glue and nails. I added glue in between the tree pieces before adding the side.


For the top and bottom I lined up the top where the tree meets, took that measurement and cut to fit. I used the same measurement for the bottom to keep it all square.

Once the top and bottom were attached I cut a 1/4″ plywood backing to fit. I glued and nailed it to the back.


Watch! Build Video for This Project
Free Plans to Build Your Own 1×4 Christmas Tree Tray
Ready to build this yourself? Here’s the free plans, enjoy!
Leave a Reply