Your cart is currently empty!
design image is rendered from plans in queen size with bedding facing perpendicular to length of bed – the opening for the top bunk differs slightly from the final plans. please reference plans for exactly build recommendations for stair/ladder opening
This Free Plan Sponsored by Kreg Tool Company
Big thanks to Kreg Tool Company for sponsoring this outdoor dining set build! I used the Kreg 720PRO Pocket Hole Jig to create strong joints, their Versa Grip clamps to hold everything in place, and the cutting guide system for making clean, straight cuts. I also used Kreg screws for a professional, durable hold.
These tools made the process faster, easier, and way more enjoyable. Highly recommend for any DIY builder!
Why I Built these Heavy Duty Bunk Beds
My friend has a large bunk room in her lake house and asked me to build her some lifetime bunk beds that would hold up over time. We choose a classic design, made it extra sturdy using 4×4 posts and 2×8 rails. This bunk system is heavy duty!
How We Built the Bunk Beds
This wasn’t a quick and easy project, but working on it as a couple, we were able to tackle the build part in a weekend. Here’s how –

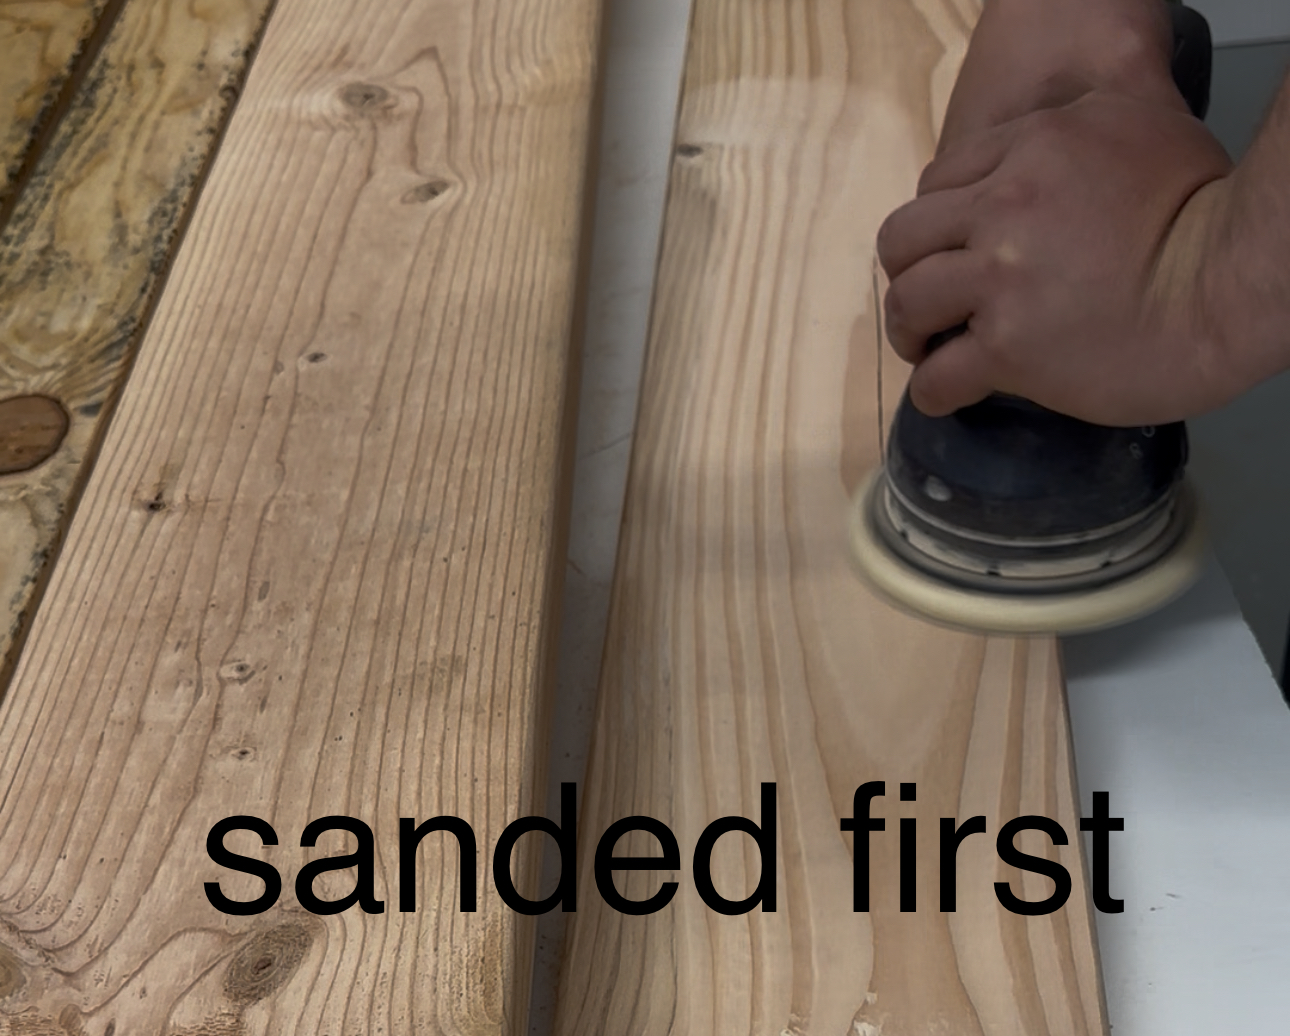
First, we sanded every single board, on all four sides.

Then we prepped all the joints by using Kreg Pocket Holes on the 1-1/2″ setting. The Kreg 720 Pro is the best tool for this job.

We built the end panels for the bunk beds in our shop by attaching the slats to the 4×4 posts with 2-1/2″ pocket hole screws.
NOTE: For even heavier duty construction, use Kreg HD System and screws
Here is one of the bunk bed end panels framed.

We also added the 1-1/2″ x 2″ trim pieces (shown in plans too) and the 1×12 skirt to the bottom. The skirt is optional, we added because my friend eventually wants to add trundle beds, and the 1x12s would end up being the face of the trundle, matching the skirt.
The headboard / ladder panel was a little more complicated because we added the paneling to enclose the headboard (and also enclose the stairwell) and the opening at the top took a couple more steps. Here’s the headboard panel framed up (with added 1×12 skirt).
After all the panels are done, my friend stained everything Golden Oak color.
And then it was just assembly!
Assembly is just attaching the 2x8s that run long to the headboard and end panels.
This was definitely a two person job as the boards were heavy (and we doubled the work with two bunk beds in full size!)
After that, we just added the slats (1×3 furring strips right on top of the 2×4 cleats)

If you end up with scrap 1x3s that won’t span the entire width, but can span half way, you can stagger them like this, just try not to get more than 4″ gaps anywhere (or depending on your mattress recommendations for slat spacing).
Here’s with one mattress –
And then with the added stairs!
What a great project, we are so glad we were able to be part of it.
Watch! Build Video for This Project
Video coming soon
Build the Matching Drawer Stairs Too!
Did you notice the drawer stairs? We built them too! And made free plans for you:
Free Plans to Build Your Own Heavy Duty Bunks in Twin, Full or Queen Sizes
Ready to build this yourself? Here’s the free plans, enjoy!


Leave a Reply